I use Lightroom to process and catalogue all my images and tend to use what I think are very basic adjustments to initially improve them. I have the highlight and shadow clipping warnings activated and use the clarity slider , tone curves , and occasionally the vibrance slider. Using Lightroom I can also adjust the camera calibration setting. There are seven choices but I tend to use either the Adobe or Camera standard setting , or more frequently the Camera neutral setting. I particularly dislike the Landscape setting –it creates an oversaturated image that looks very unnatural to my mind.
Exercise : Managing tone
The purpose of this exercise is to improve the tonal appearance.
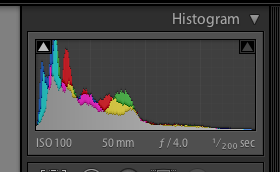
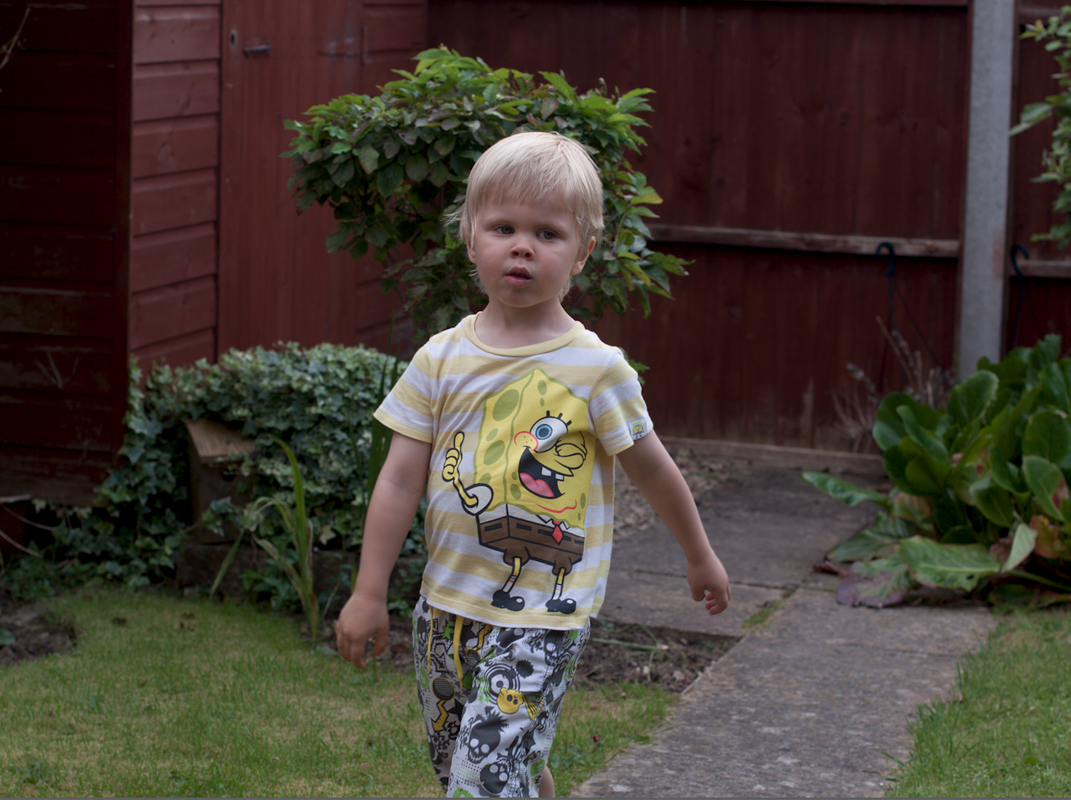
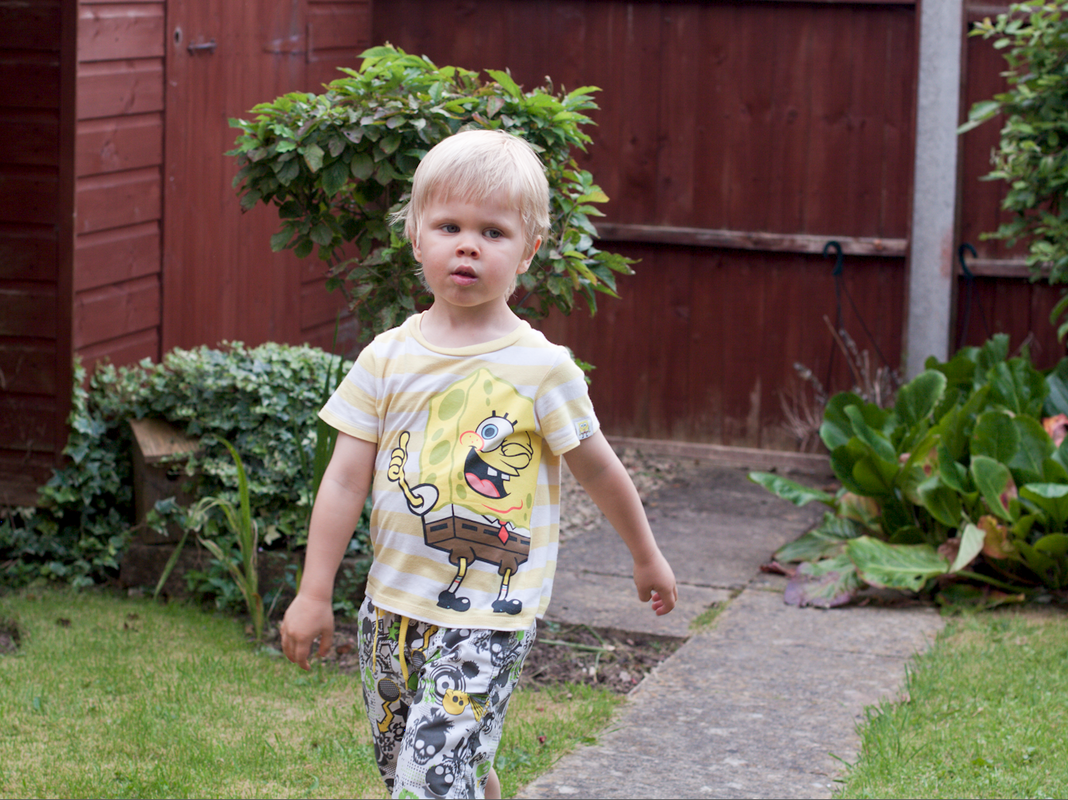
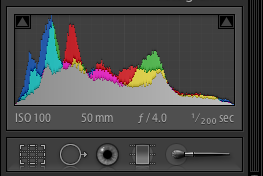
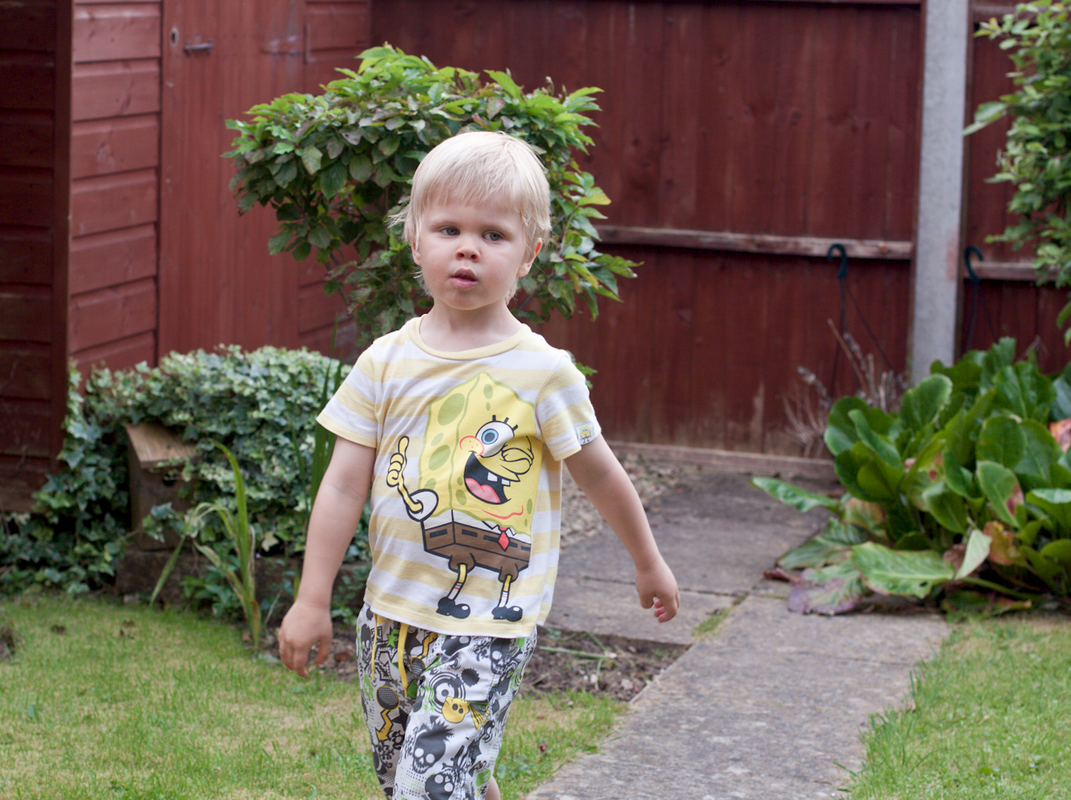
The Raw image I have chosen was , I thought , correctly exposed at the time of shooting but is a little underexposed and the mid tones need some brightening. The image is rather dull and although there is some slight clipping in the shadows that is actually not really a problem it’s the mid range tones that need attention.
The Raw image I have chosen was , I thought , correctly exposed at the time of shooting but is a little underexposed and the mid tones need some brightening. The image is rather dull and although there is some slight clipping in the shadows that is actually not really a problem it’s the mid range tones that need attention.
 |  |
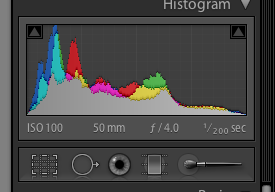
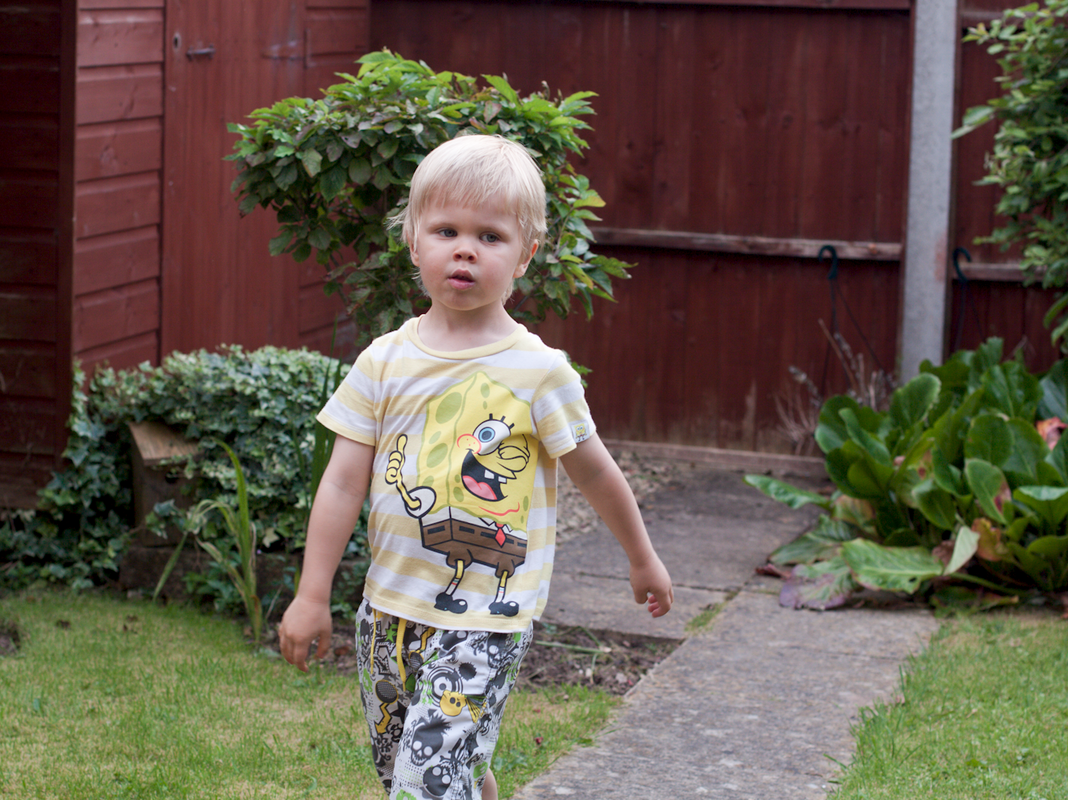
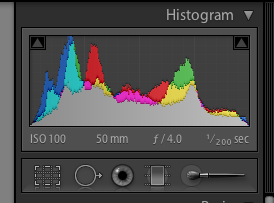
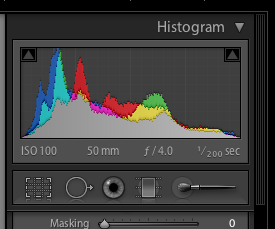
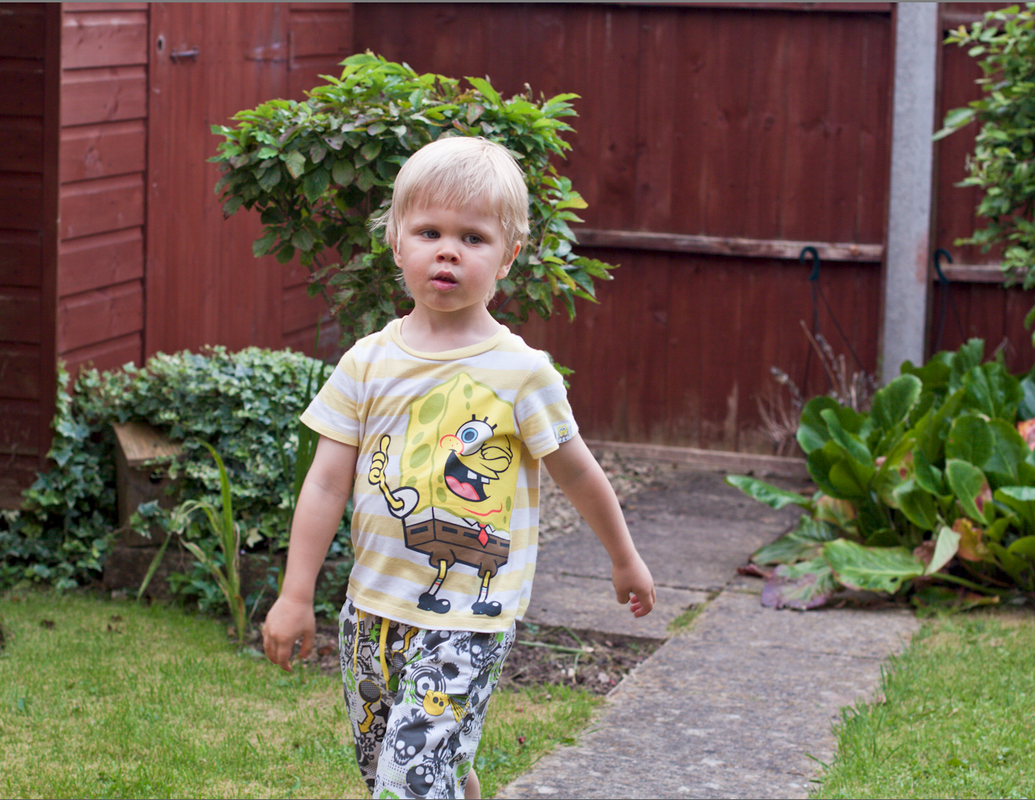
My first step was to increase the exposure by half a stop. This step alone had improved the mid tone range and the image now looks much brighter , the histogram indicates the shift from darker to lighter tones spread across the tonal range.
 |  |
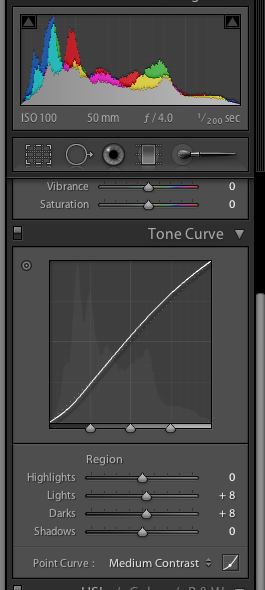
My next step was to use the Tone curve slider. Only making a very minor adjustment I increased both the lights and darks by a small amount of +8.
 |  |
I also tried adjusting the brightness slider , having de-selected the tone curve adjustments made earlier, as a comparison . The slider was set to +96. Again this has improved the mid tone range and contrast. However from past experience one problem I find using the brightness slider is the change that can happen to the skin tones, which can become too pale , and generally prefer using the tone curve adjustment sliders. Although very slight I feel the resulting image using this adjustment has made the T-shirt and skin which look a bit washed out .
 |  |
Next I tried a combination of these adjustments. The clarity slider was set at + 25 , the brightness + 81 , vibrance +13 , a tone curve adjustment of -14 to the lights and + 20 to the darks. The T-shirt looks (slightly) better to me now but there is not a great deal of difference between the two histograms but perhaps indicates slightly fewer lighter tones which is what i wanted.
 |  |
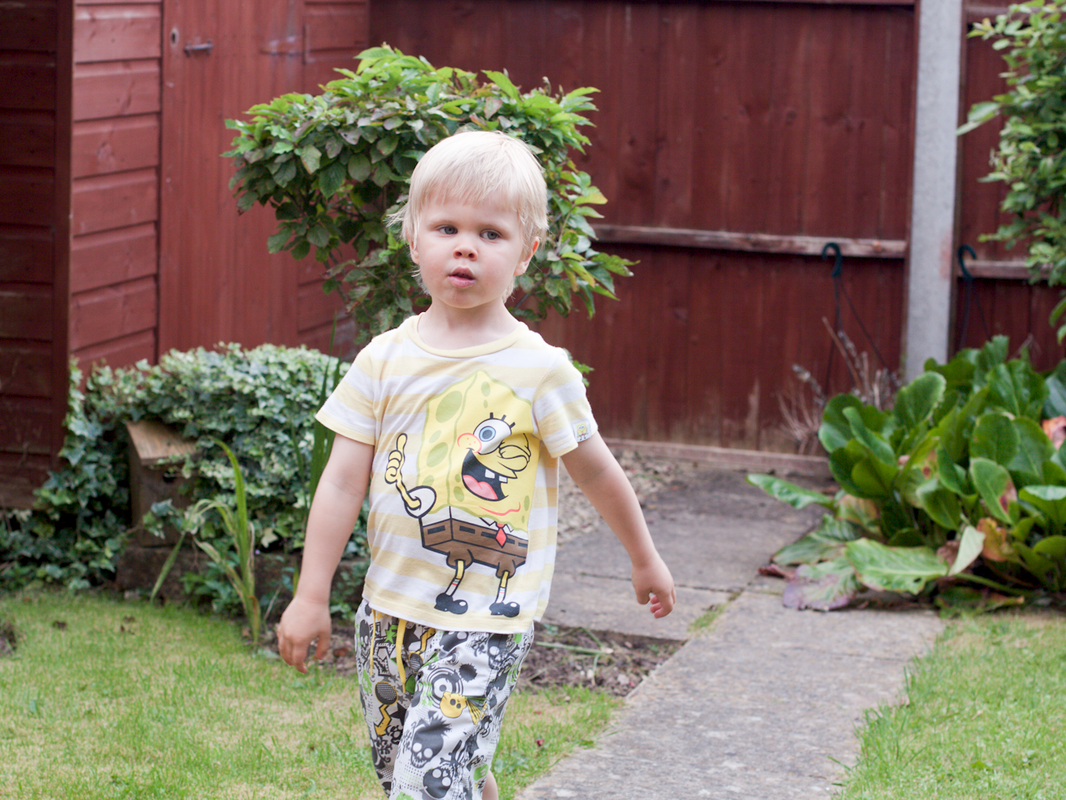
Finally I reset the image back to its original as shot settings. This is the real advantage of Raw being able to try out different ways of optimizing and processing the final image. For this final version I increased the exposure by half a stop. Set the clarity slider to + 16 and the vibrance to + 14. I then used a tone curve adjustment of + 20 lights and – 9 darks.
 |  |
Before After
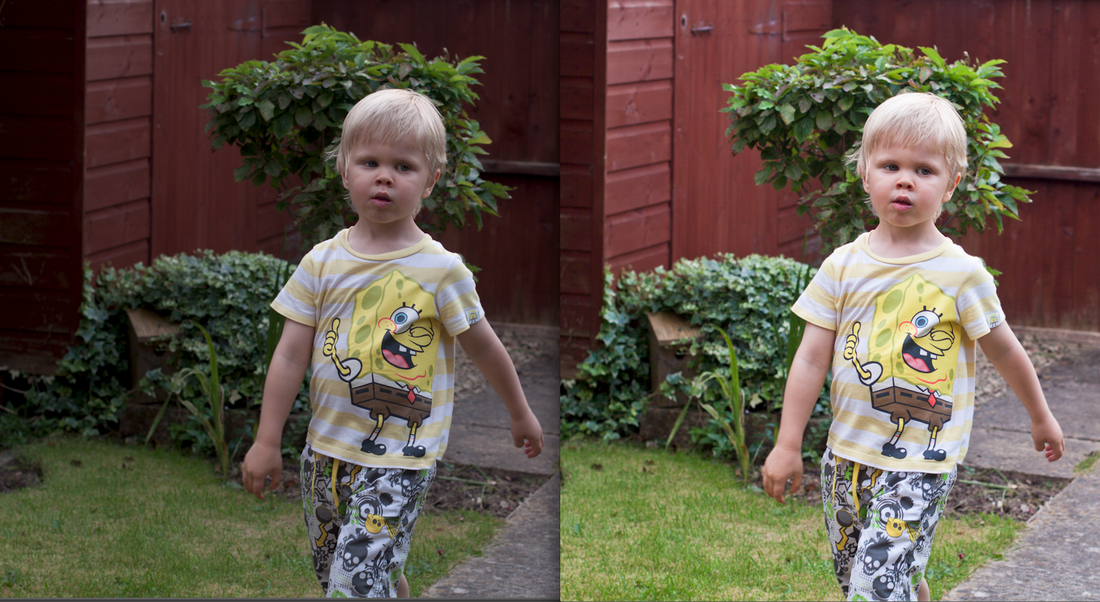
Comparing before and after it is very obvious the image is greatly improved.
 RSS Feed