A holiday trip to Marazion, Cornwall is perfect to complete this exercise. I never get fed up of trying to capture the perfect image of St Michael's Mount and Mounts Bay, and have probably taken hundreds of images of this area during my frequent trips there.
Workflow plan.
Pack the following :
Camera
10-24mm lens. 28-75 lens. 70-200 lens. 50mm prime.
ND 9 stop filter & circular polariser filter
Tripod
Battery charger & spare batteries
Cable release
Memory cards all empty & formatted.
Laptop & external hard-drive.
Shooting :
Mount's Bay & St Michaels Mount at varying times of the day & hopefully different weather conditions. Get tide times.
I want to try my new 9 stop filter, this will be a challenge.
Not just landscapes planned, I also want to include people in my shots.
Delete as I go along if I am sure the image is unusable, time allowing-- I do not want to keep checking each image.
Check histogram & bracket shots if I feel necessary
Camera set to manual as usual, ISO as needed etc.
Post shoot each day:
At end of each session upload all images onto my laptop into a new folder and also copy Raw files to an external drive. (I will need to revise this method once I use my iMac and I need to consider how I will manage my images on location. I will probably have to buy another laptop or look into some form of compatible portable storage ) Good job it's Xmas soon!
Tag each session and perhaps review briefly, deleting any obvious mistakes, bad exposures etc.
Will leave majority of processing, printing, and uploading to Web till I get home.
My 7 day session.
I found it easier to decide on each day exactly what, how, and when , I was going to shoot. I was dependant on the weather and tide times , something totally out of my control. I loaded each session onto my laptop and deleted any obviously unusable images. I backed up to an external hard-drive every evening applied basic tags but left any other processing until I got home. All session images taken with a 10-24mm lens, tripod, cable release and ND 9 stop filter. A word about this filter, to expose properly you first compose and expose for the scene without the filter fitted, attach it , then increase exposure by about 27 stops, I found I needed to bracket all my shots. Additionally once fitted it is impossible to re-compose without taking it off again. This was time consuming and fiddly, not something I allowed for. An easier solution would have been to just go out later or earlier in the day when the light levels dropped but sometimes that is not practical and I made the decision to use the filter for this session as I was on holiday with my husband and we would be going out later ( when the light would be perfect ! ) to eat. Because I was staying just across the road from the causeway access was easy, making my planning much easier. I knew exactly what I hoped to capture and therefore did not waste time scouting around for a suitable location , I just needed to wait for favourable conditions. What I did find was once home was that I had a large number of very similar images and choosing the best was very time consuming and it was practically impossible to choose between some. A discerning eye is essential , but as I noted for my first workflow exercise how any image is viewed will usually be from a subjective point of view. As the creator of each image I find it extremely difficult to pick out just one and even harder to delete images that are perfectly acceptable but just too similar to others. This is what I really need to get to grips with in order to create a more streamlined , efficient, and less time consuming workflow .I am still processing my holiday "snaps" and do wonder if I should get into the habit of shooting in Raw & Jpeg mode. This would enable me to have an instant record of my trip/ or session and then enable me to concentrate on only fully processing , what I consider , are the very best images .
For my final chosen images shown below I kept post processing minimal , but to add variety I altered the WB , created some black and white images , some colour , and one sepia image.

Session 1: First 24 images. Low sun evening time. This was the first time I had used my new filter and my plan was to be able to go out earlier in the evening but still be able to use a very slow shutter speed. My aim for this session was to capture perhaps just one or two people crossing the causeway at a quieter time of the evening when there are less visitors. I wanted to capture an ethereal moment, many people find this place magical and mysterious. Using the filter was more difficult than I anticipated, some images were deleted immediately --totally underexposed. However it is fun to use and I included myself in one long exposure shot. I got into conversation with a Dutch tourist who was most interested in what I was doing as we talked it got darker so that session was over.
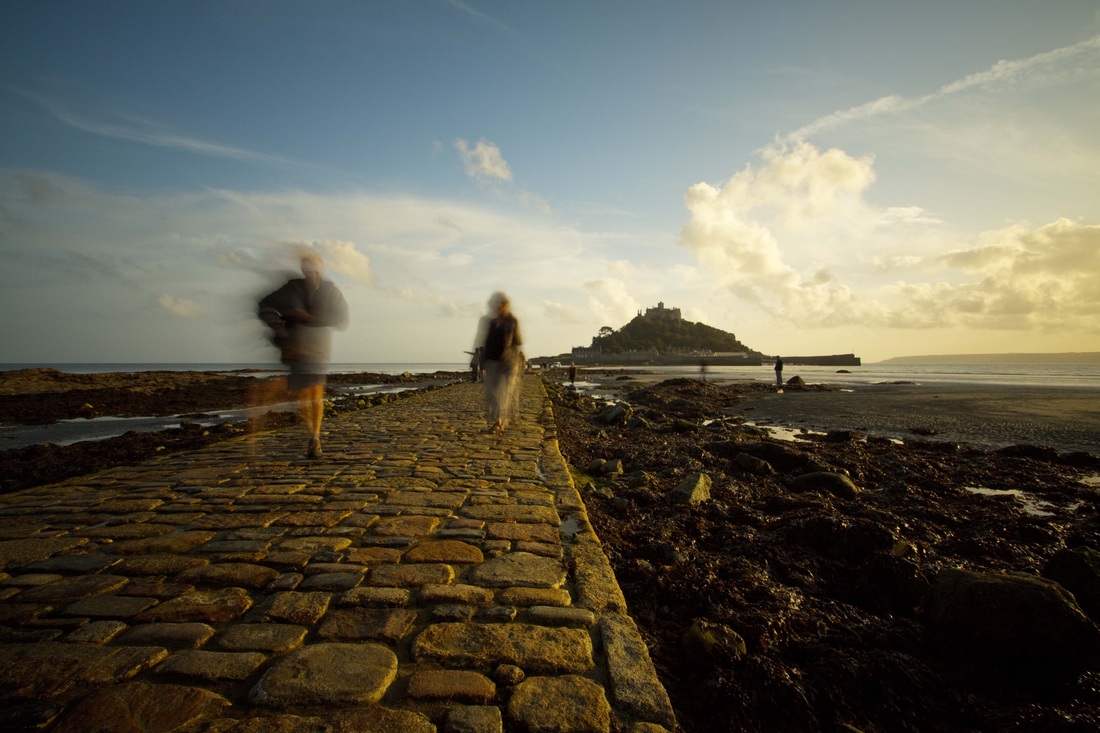
F8 10mm ISO 100 1 sec exposure Custom WB
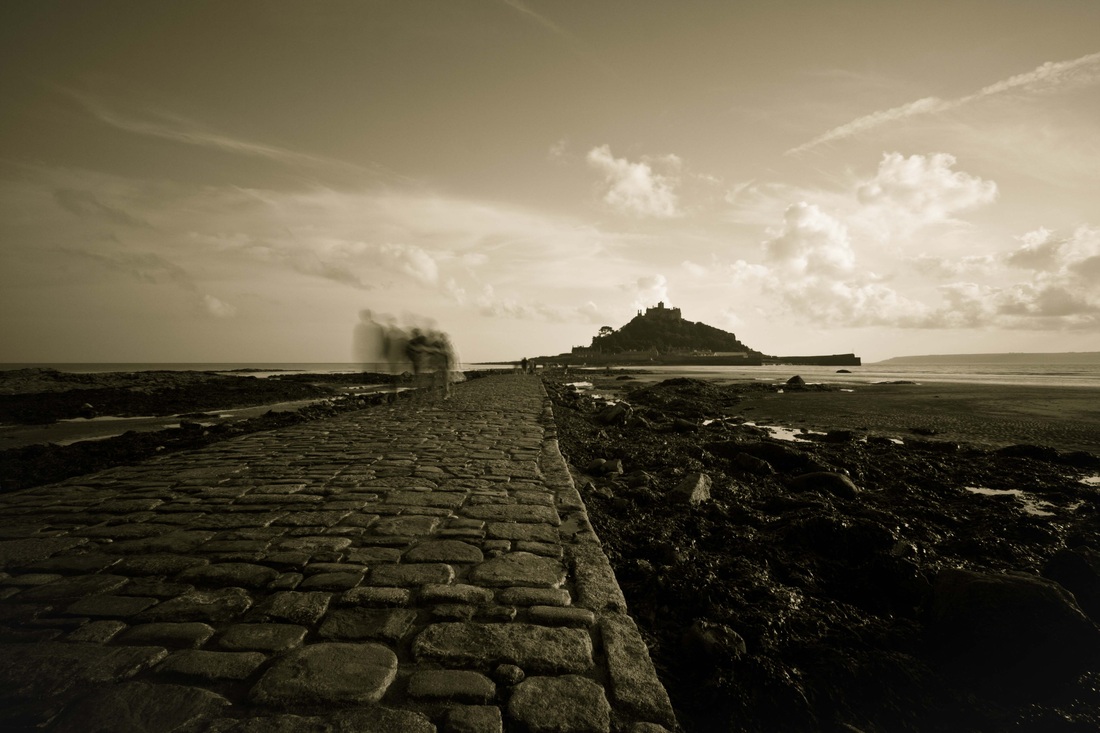
F11 10mm ISO 100 1.6 sec exposure Shade WB Sepia tone
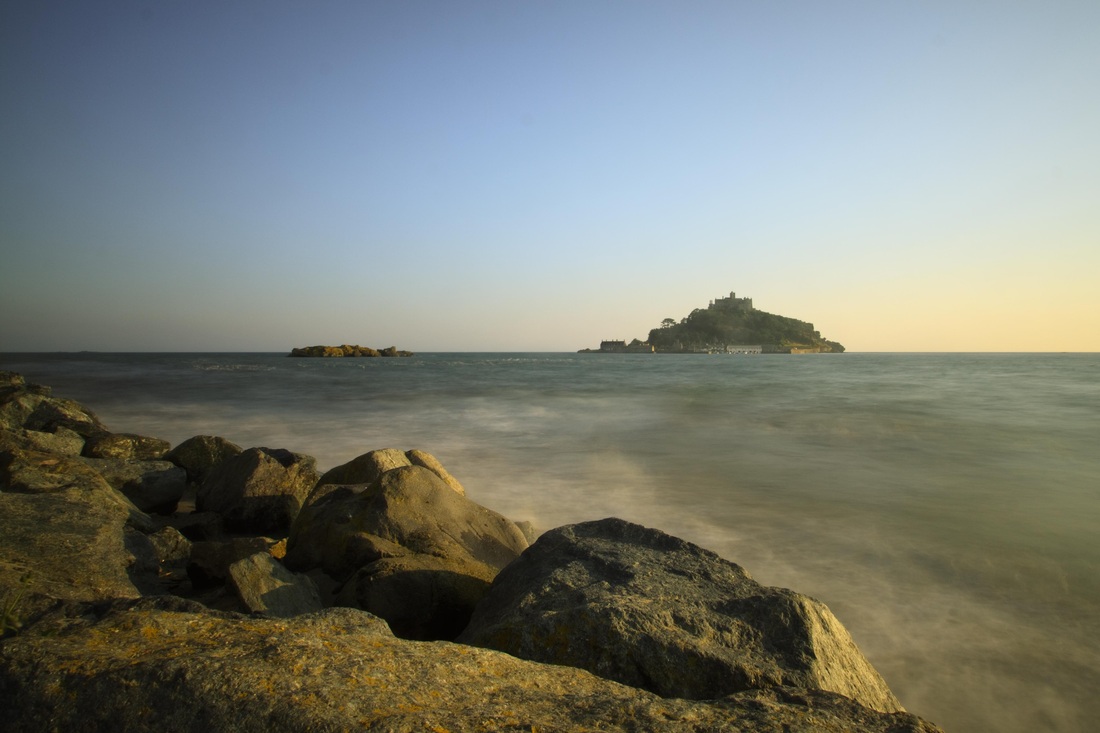
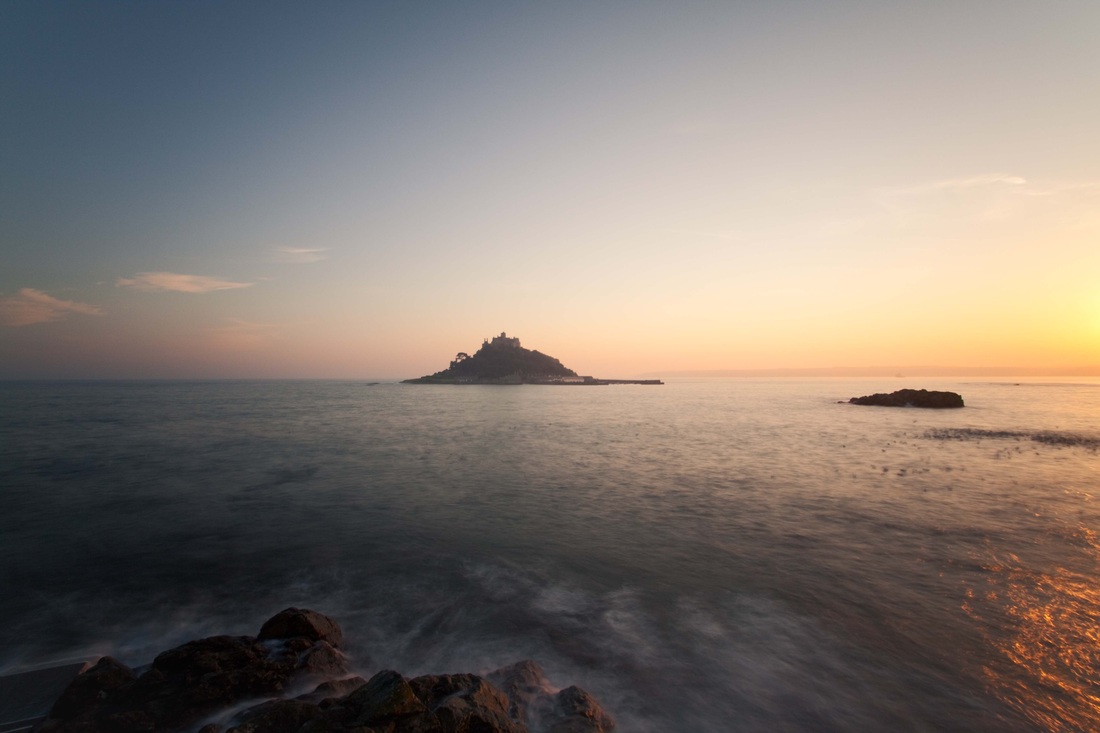
Session 2: 19 more images taken a few days later of Mount's Bay overlooking St Michaels Mount.
Late afternoon . Bracketed shots ranging from 0.6 to an 8 second exposure.
Late afternoon . Bracketed shots ranging from 0.6 to an 8 second exposure.
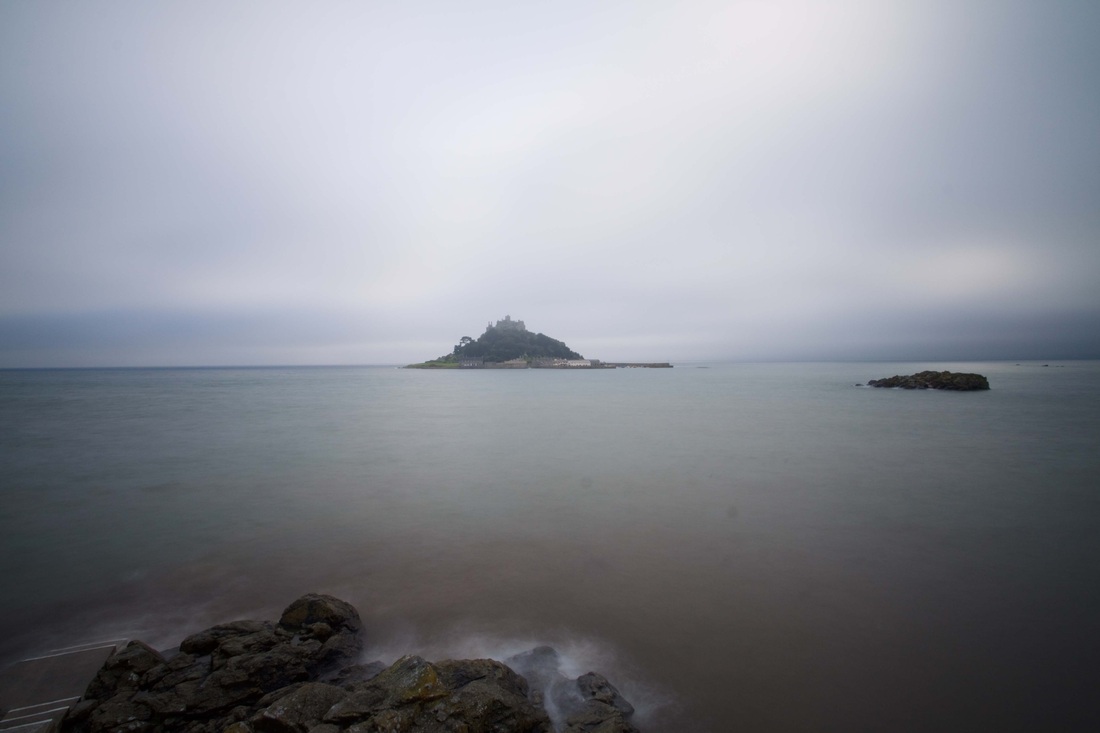
F18 10mm ISO 100 Custom WB @ 7595 8.0 Second exposure
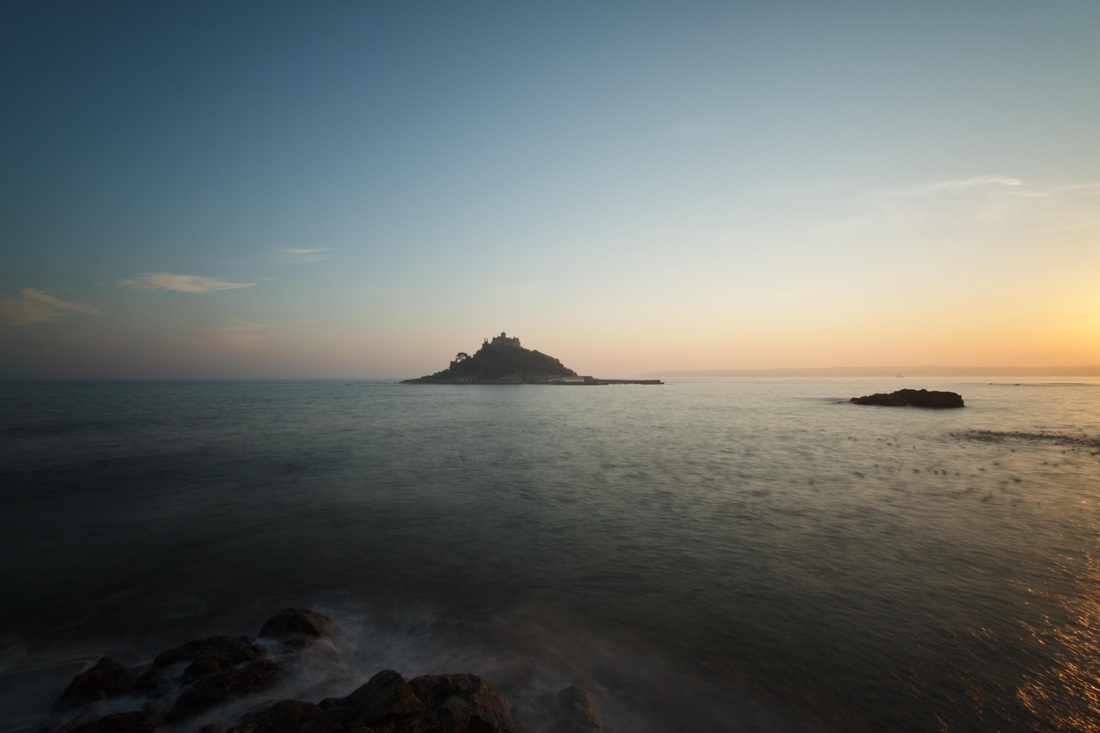
Session 3: Two days later another 49 images taken. Bright clear sky, no cloud cover, late afternoon. Again using the filter I took multiple exposures, briefly checking the initial few were not underexposed, but to save time and battery life I then took bracketed shots to compare later on the computer screen. Additionally it was the highest tide of the year and I hoped to take advantage of this and placed my tripod low down but on reviewing these on the computer screen did not feel any of the images were particularly thrilling compositionally . In order to obtain the smooth appearance that I wanted I needed a slow shutter speed. Even with my 9 stop filter on I needed to wait for the light to be low enough to do this. All the images were taken from exactly the same spot so all were very similar. Light and how best to utilise it to advantage is a fundamental photographic skill, a skill I really hope to improve on as the course progresses.
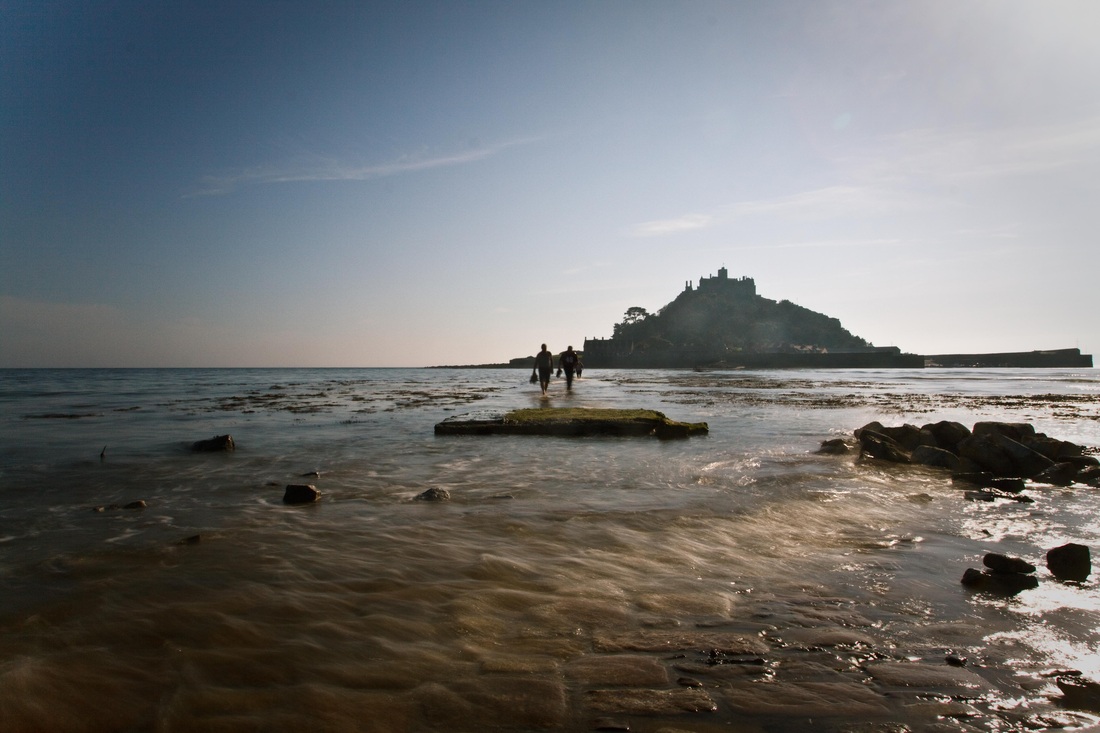
Final mammoth session split into two parts of the same day I took a total of 111 images. A gorgeous day with blue sky and sun--unusual for the UK !!!
The first part of my day, mid afternoon, I attempted to place my tripod on the causeway as the
tide (and tourists) came in towards me--not as easy as I thought. The causeway is very uneven and it takes some time to adjust a tripod to ensure it is level. The tide came in quicker than I expected , my feet and trousers got soaked ,plus I had to keep moving backwards and recomposing. Hence I ended up with quite a few slanted images! I would have also preferred to have taken this kind of shot later in the day when the sun was lower, but was dependant on tide times to capture what I was aiming for.
Second part of this session was later towards the evening when the sun was beginning to set , the light was lovely.
 RSS Feed