I was happy to get really positive feedback so promptly from Russell. This assignment turned into a very personal piece of work for me so knowing I produced something that he considers an “excellent submission not only from a technical point of view, where you demonstrate a real understanding and empathy with the form” made the stress and hard work involved worthwhile. This summer has been especially difficult and I have struggled to keep up to date with my OCA work and still have a lot of catching up to do but receiving such encouraging and constructive advice has boosted my enthusiasm to keep on with my studies.
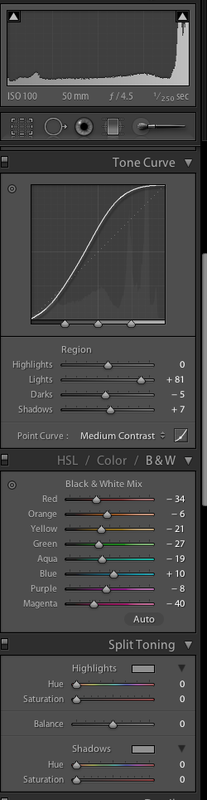
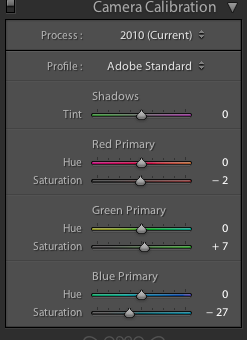
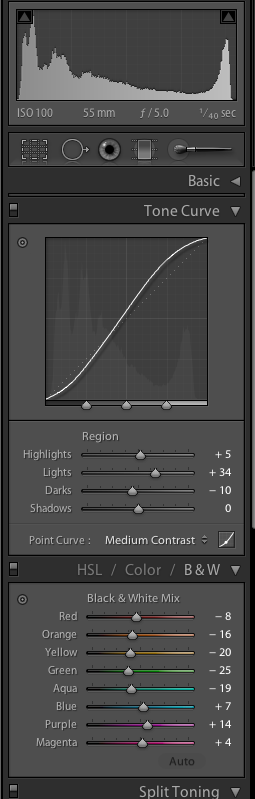
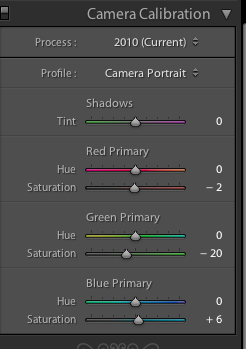
I find printing a black art—I waste masses of paper attempting to get what I feel is a decent print. I use an Epson R2880 and Perma Jet Fibre Base Royal 325 paper. Russell sent me a separate email about my prints and although he comments they are very good he feels they are a touch too contrasty. I personally like high contrast but I can understand what he means as there is some detail lost in a few of the photos. I have noted in my thoughts below which images he suggests reviewing and will re-process and print again to compare.
I find printing a black art—I waste masses of paper attempting to get what I feel is a decent print. I use an Epson R2880 and Perma Jet Fibre Base Royal 325 paper. Russell sent me a separate email about my prints and although he comments they are very good he feels they are a touch too contrasty. I personally like high contrast but I can understand what he means as there is some detail lost in a few of the photos. I have noted in my thoughts below which images he suggests reviewing and will re-process and print again to compare.
Individual image feedback & suggestions for improvement.
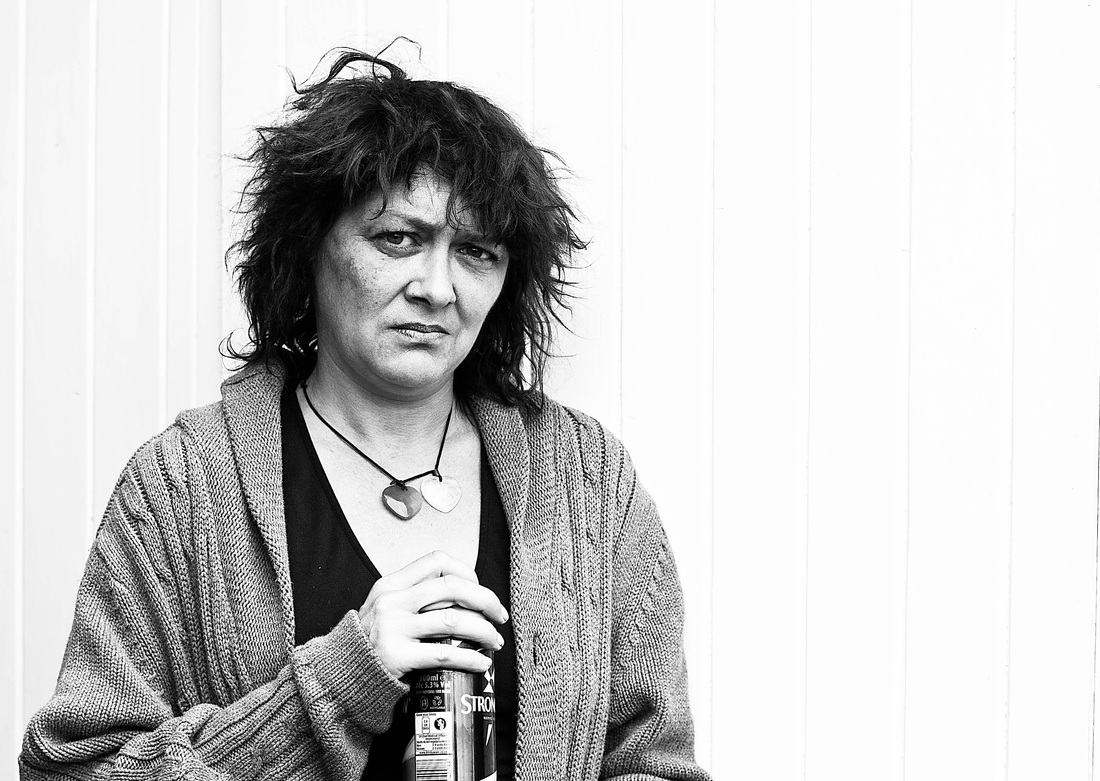
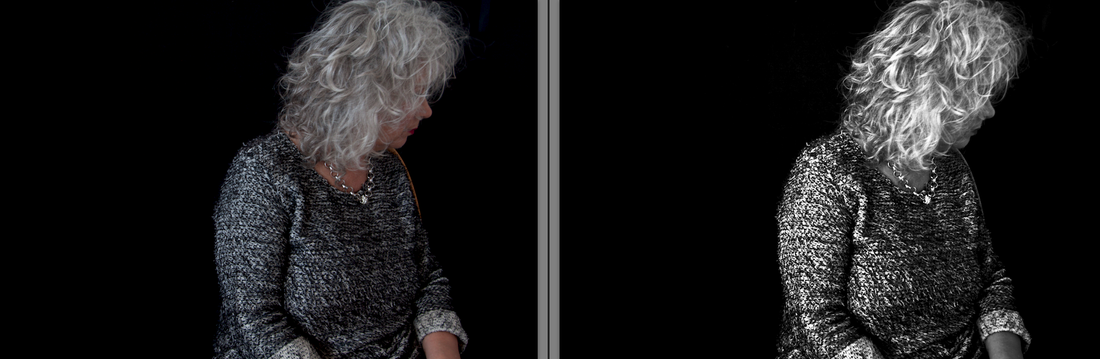
B with her “Best Friend”
The harsh processing and body language “communicate her predicament”
But Russell was able to see beyond this and caught a glimpse of the real B , the one hidden beneath this exterior , “there is a sophistication abut this person that belies her habit”.
I really could not have hoped for a better response to this painful image.
Russell suggests dodging the lower right negative space and also her right hand held against her chest.
I have amended the image as suggested and re-printed it .
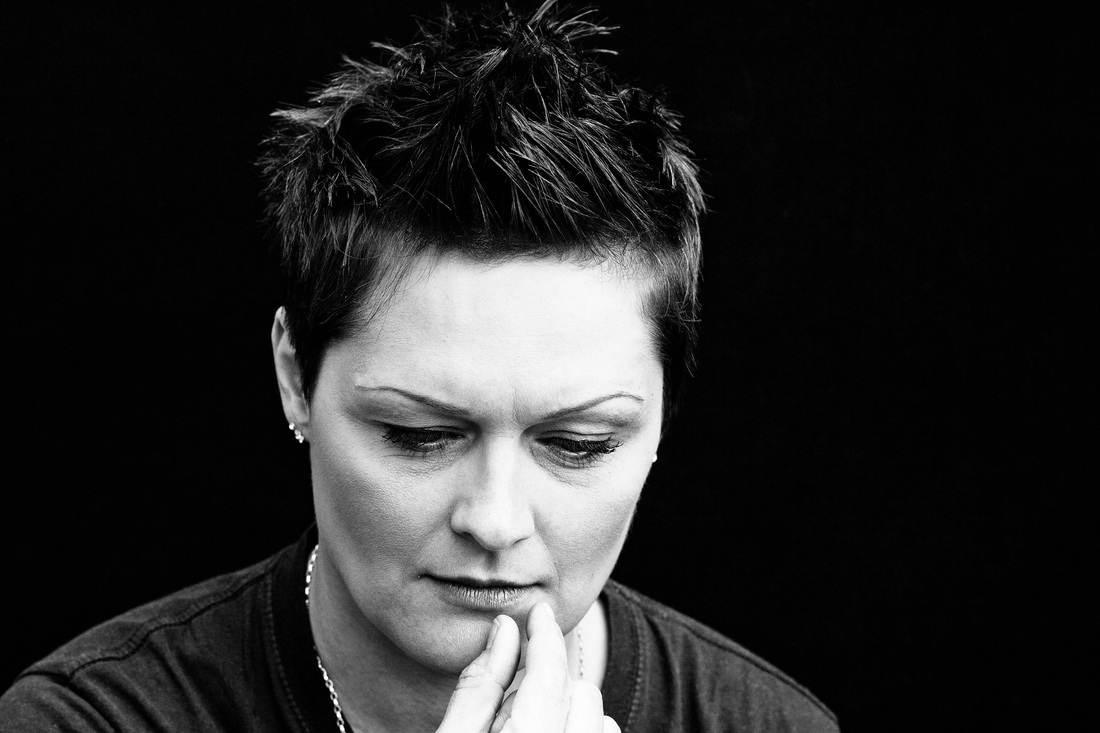
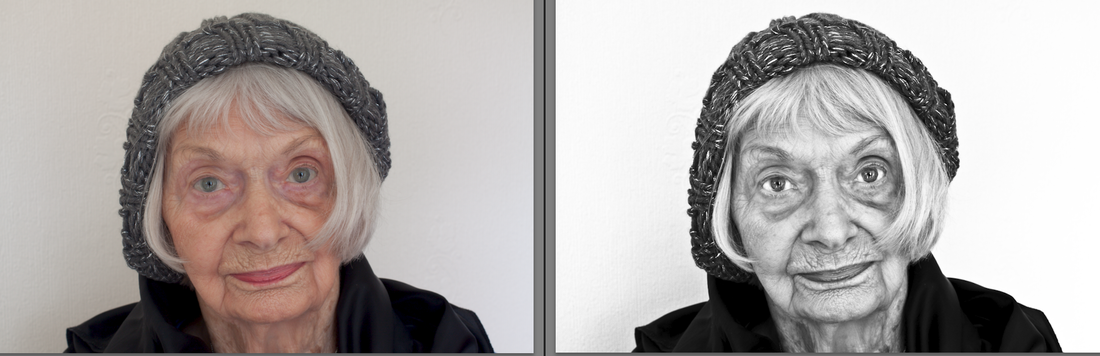
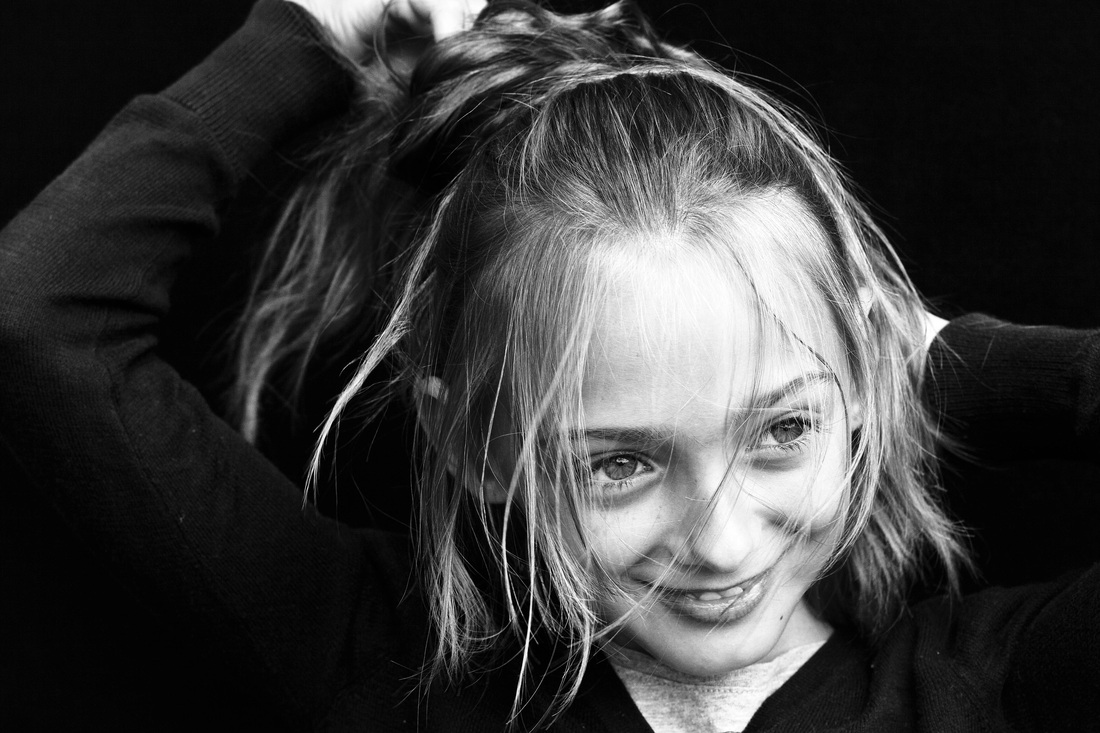
Rachel, Summer 2012
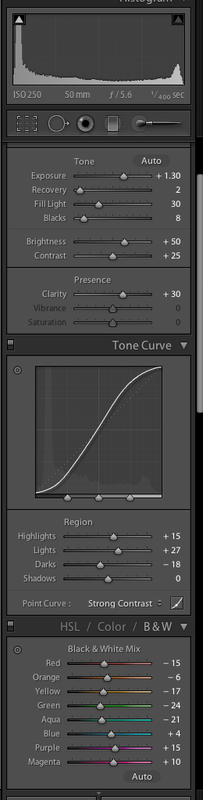
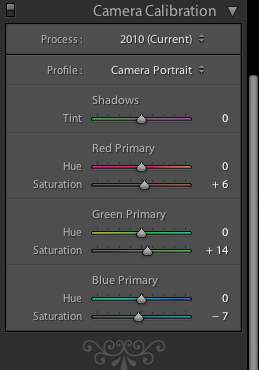
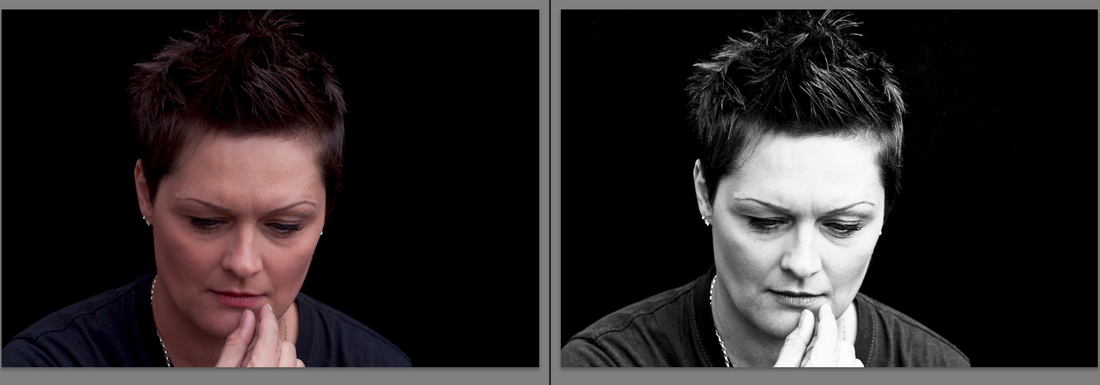
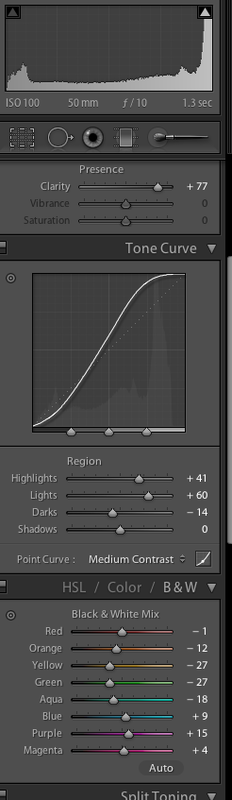
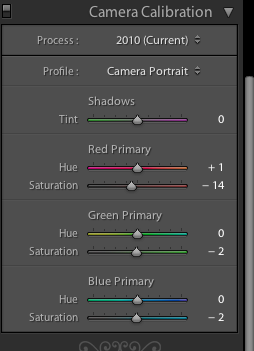
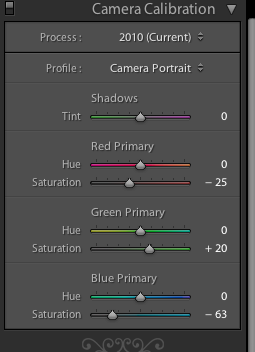
Russell suggests that although “the tonal range is good” it might be worth trying to attempt to get some more detail in her hair whilst trying not to increase the contrast or brightness. He also suggests a wider frame or stronger crop. I have amended the image in Lightroom and am really pleased with the resulting print as I have managed to obtain some more detail in her hair. However although I tried a crop of the image I much preferred my original version.
Russell felt my next two images , showing two very different teenage boys , both worked really well.
Jack
“ A lovely portrait , perfectly exposed and converted with a full range of tones and full of detail”
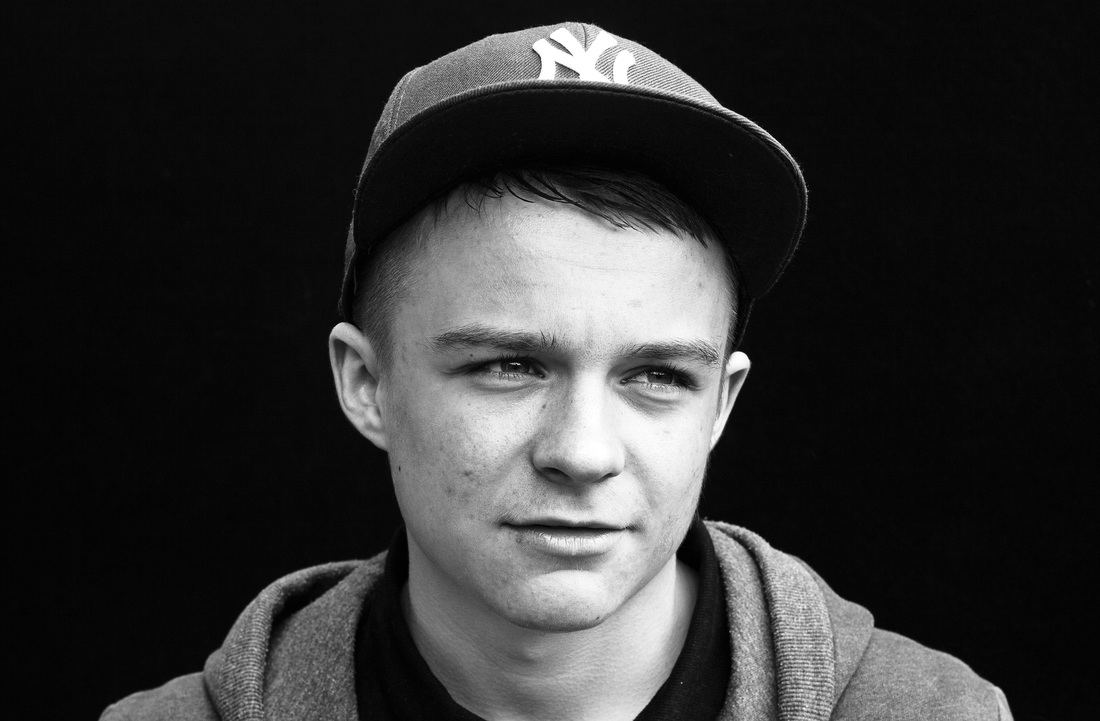
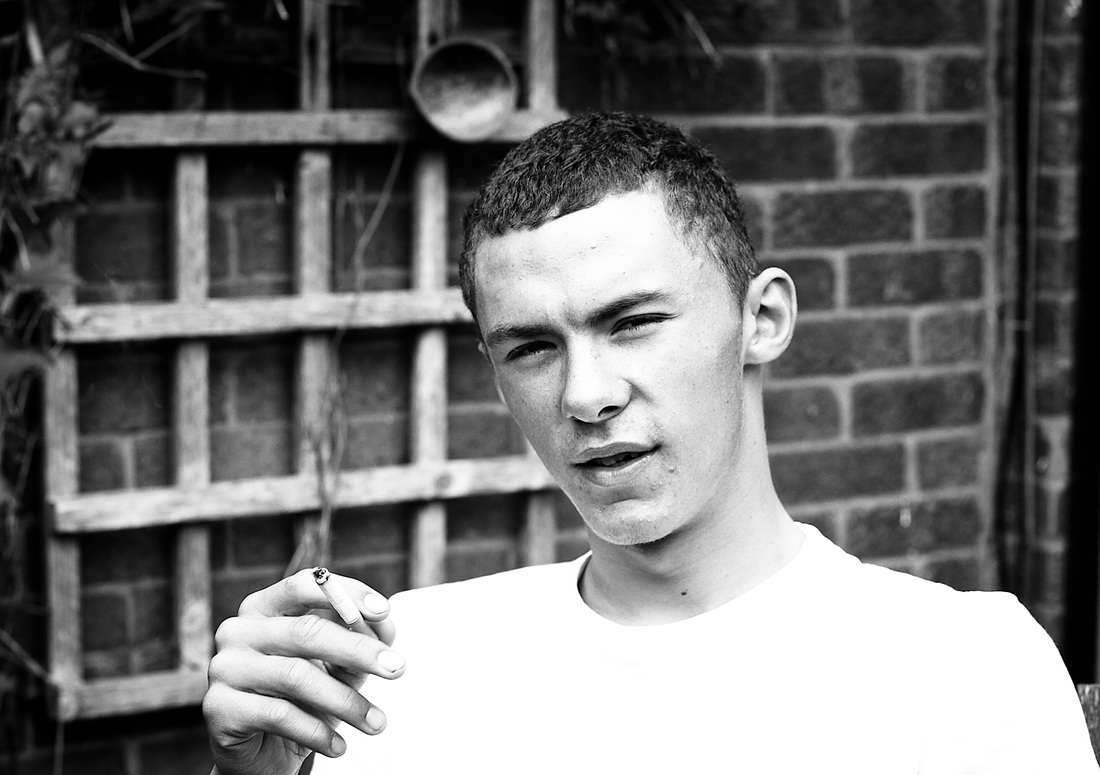
Tom
“ You have again captured the look”
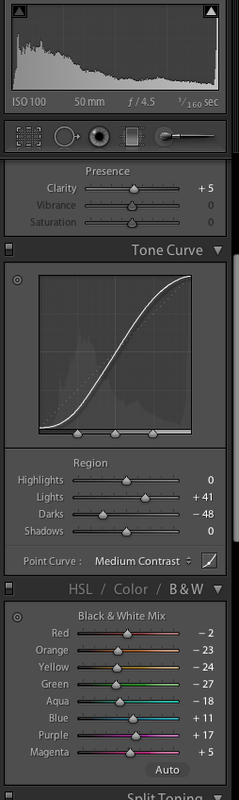
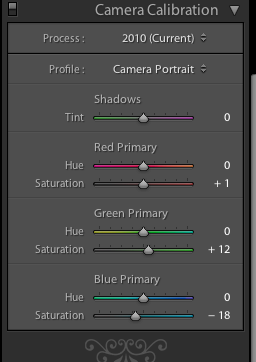
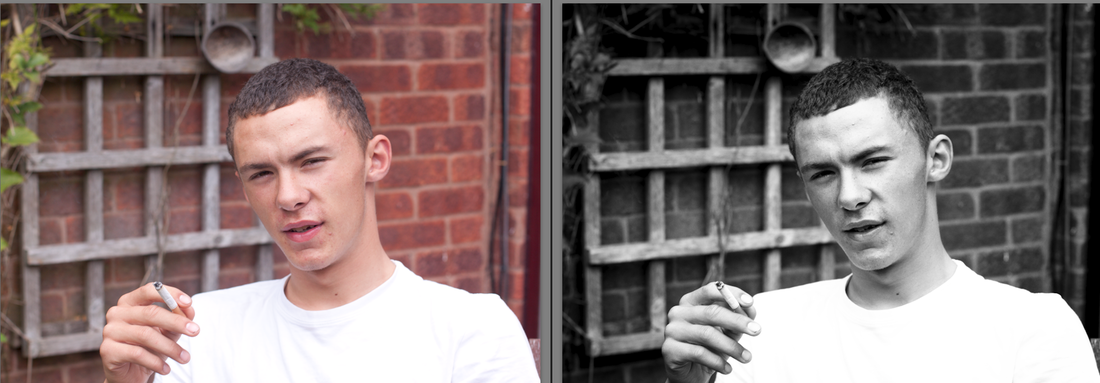
Tom’s T shirt is blown and Russell suggests reducing the brightness and doing a test print to check how it looks.
i have done this and re-printed and have managed to obtain a bit more detail that had been lost , not much but i think the 2nd print is an improvement.
Jack
“ A lovely portrait , perfectly exposed and converted with a full range of tones and full of detail”
Tom
“ You have again captured the look”
Tom’s T shirt is blown and Russell suggests reducing the brightness and doing a test print to check how it looks.
i have done this and re-printed and have managed to obtain a bit more detail that had been lost , not much but i think the 2nd print is an improvement.
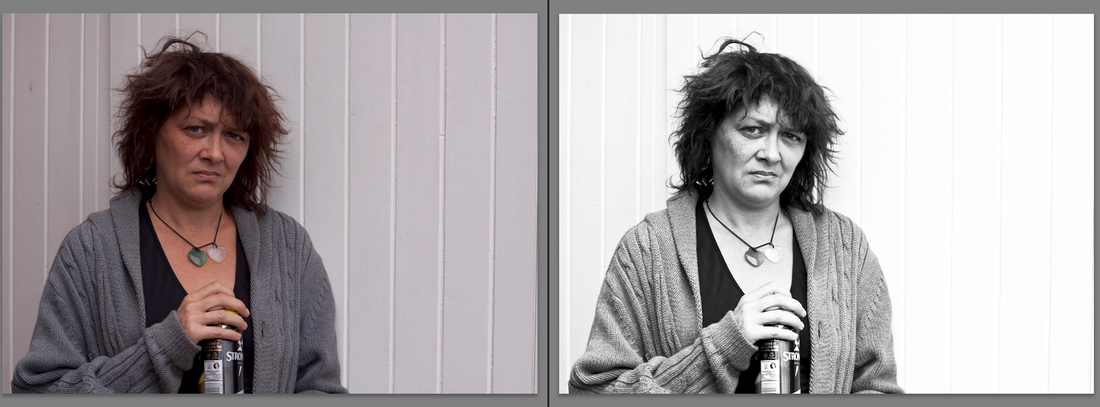
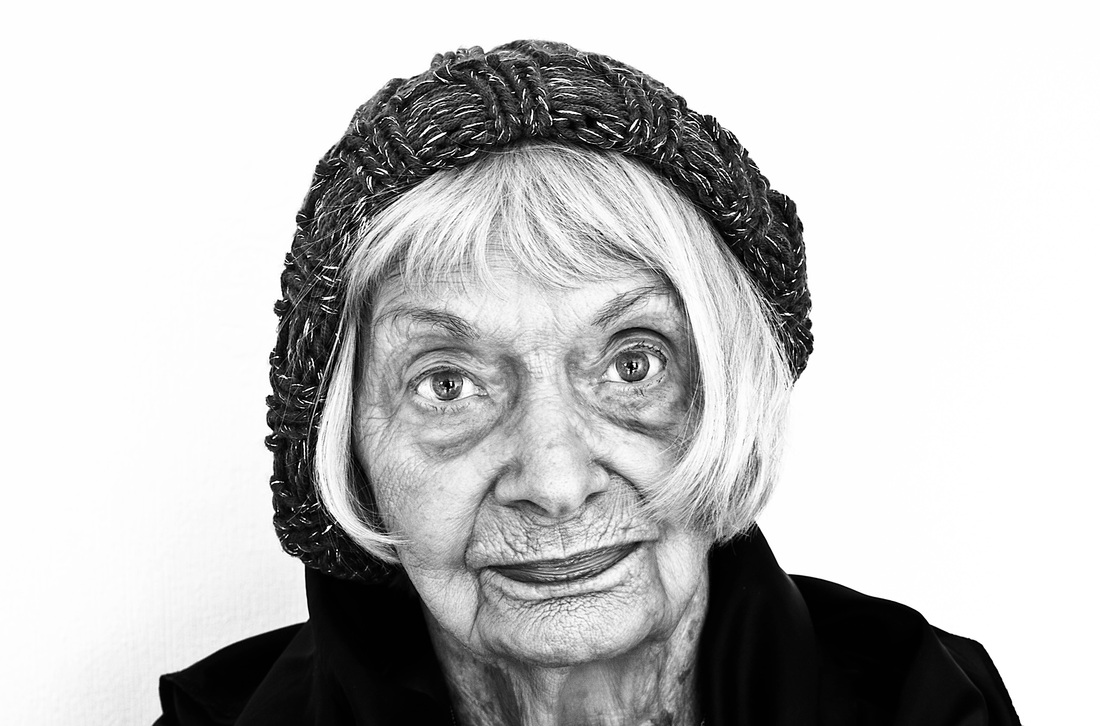
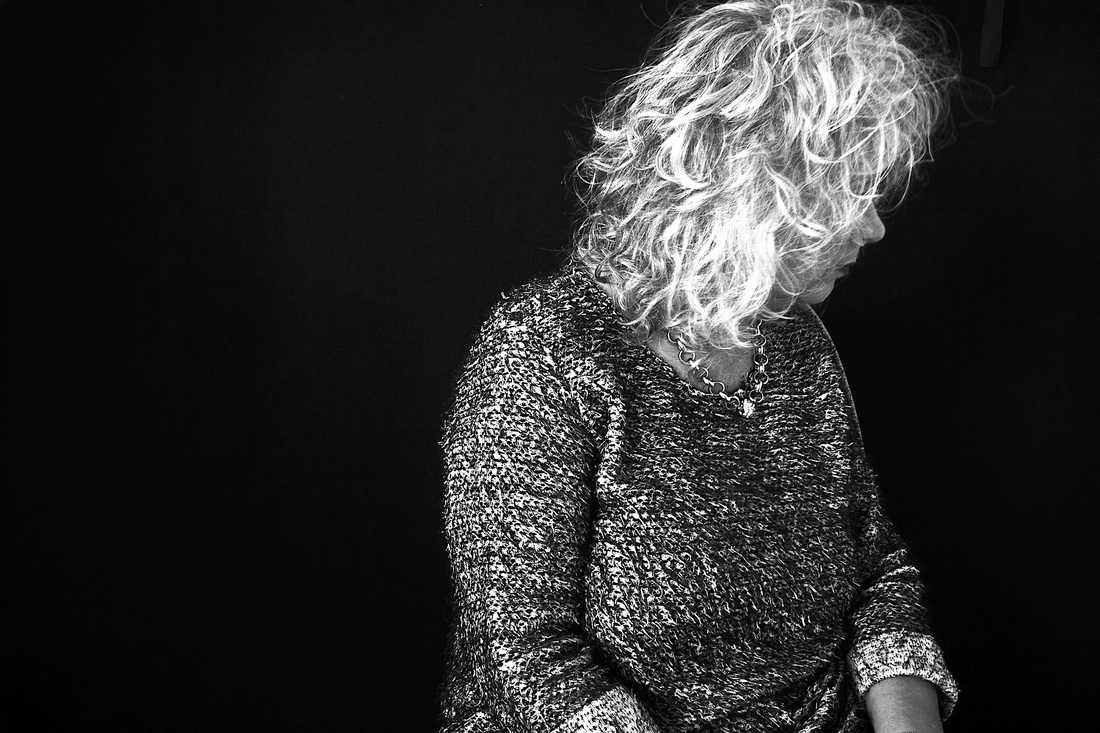
Mum
I laughed reading Russell’s comment that his own mother would not allow him to photograph her like this , Mum makes a great model , even if she does not always appreciate the outcome! He suggests once again either a wider or closer shot , I think perhaps a closer shot would be better, I used a white wall as the backdrop instead of my usual black velvet , and agree with Russell just how different the mood is , and also how it draws attention to her eyes. He suggests looking at the work of Richard Avedon, someone whose work I have looked briefly at but not in great detail. I am looking forward to researching his work and will write about this in the reading section of my blog.
I Chose to look the Other way
Russell commented this worked worked well within the set capturing mood, texture , tone , and shape, but “shame that its cropped at the top” I couldn’t agree more –oh how hard I tried to get the framing right for this one ! I cannot bear the though of re-taking this again to re-frame (it took about 100 shots) and I no longer have the dress I was wearing that day which was great for capturing texture and tone. Hence unfortunately I shall not be re-doing this particular image !!!
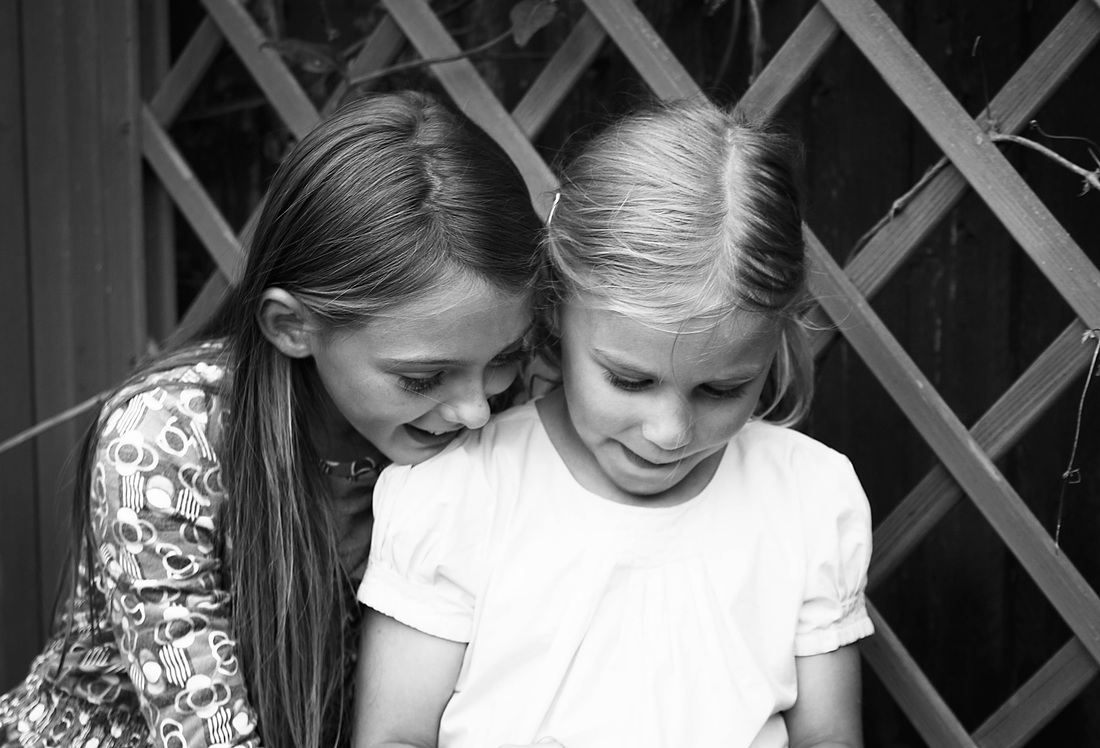
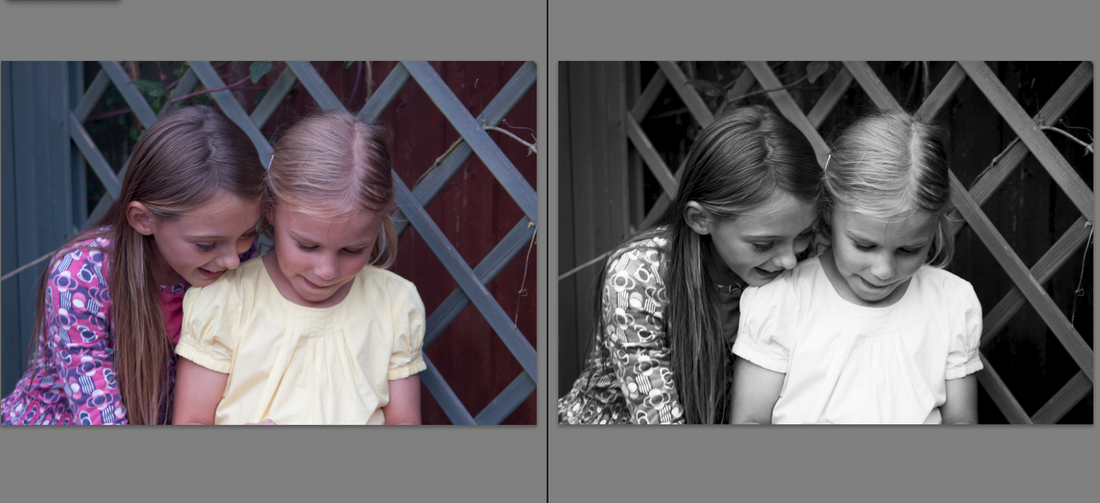
Cousins
This was the least successful image in the assignment and on reflection one I should have perhaps excluded from my final choice. Its really difficult trying to decide which images to include or exclude and as the assignment work was very personal each portrait meant a lot to me , I let my heart rule my head. Russell felt that as the viewer cannot see what the girls are absorbed in the image lacks the “power to draw the viewer”
The print although having a wide range of tones has a “background that loos a bit grey”.
I doubt I will get the opportunity to re-take this image again , additionally it did not fit in with the set but I shall try and remedy the grey background.
The print although having a wide range of tones has a “background that loos a bit grey”.
I doubt I will get the opportunity to re-take this image again , additionally it did not fit in with the set but I shall try and remedy the grey background.

 RSS Feed