The purpose of the following exercise is to look at some of the advantages of shooting Raw as opposed to JPEG. I have shot in Raw for some years now and even though I generally keep processing to a minimum still prefer the flexibility offered. Being able to adjust exposure is a major bonus although I do always try to expose correctly at the time of shooting but being able to remedy any mistakes means I am able to correct any exposures not quite spot on. However I had become lazy and left my camera on the Auto WB setting adjusting this at the time of processing. Working through the exercises and projects in Part 2 forced me to be more careful and alter the WB as I took my images, something I need to do for this exercise. As I use Lightroom to catalogue my images it makes sense to be able to see the Raw and Jpeg files separately. This is easy to do -- go to Preferences and tick treat jpegs as separate files. One of the great advantages of shooting Raw to me is the ability to make multiple versions of a single shot whilst still retaining the original.
Exercise: Raw
I need to take three images in three different lighting situations setting my camera to RAW+ high quality JPEG.
My camera has a choice of picture style settings but I keep my camera set to Neutral as I find some of the settings produce really artificial and heavily saturated looking images . This is not a problem if shooting Raw because Lightroom has a camera calibration adjustment so I can easily change the look if no entirely happy with the result , not so for a Jpeg as the setting is embedded.
1. Daylight
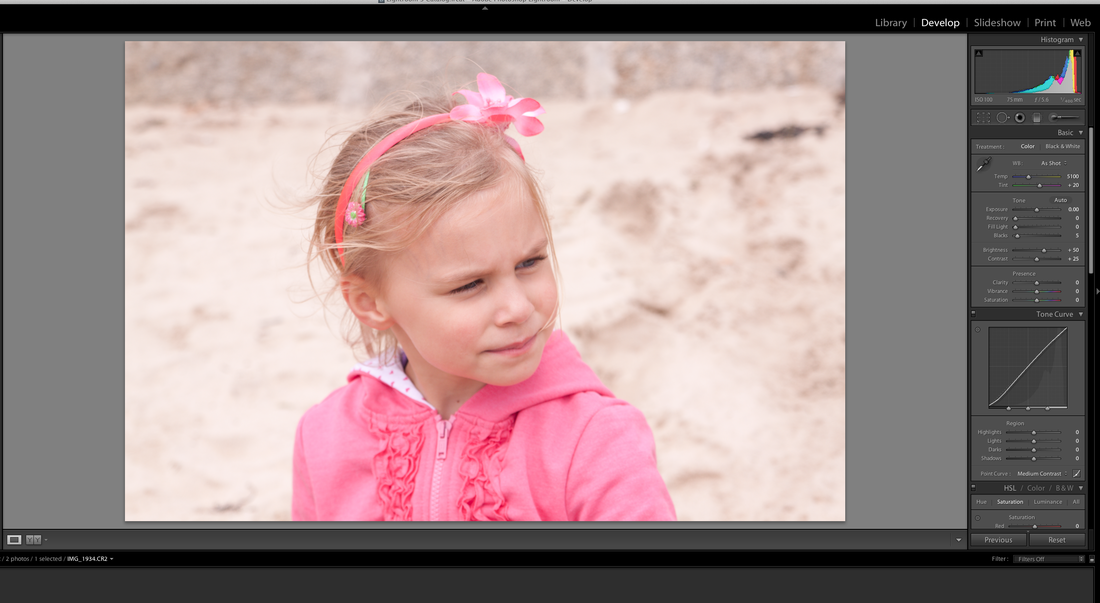
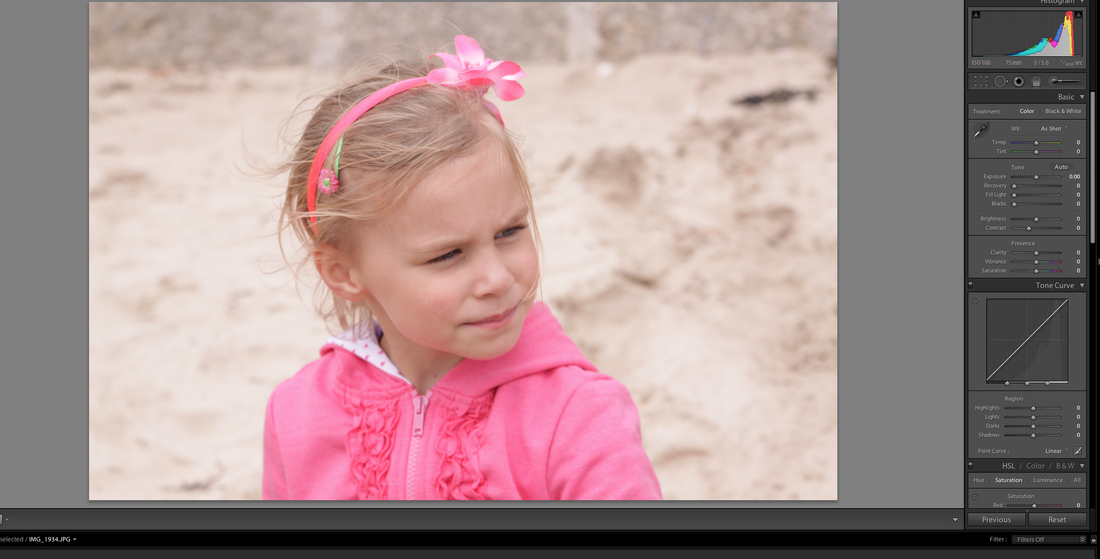
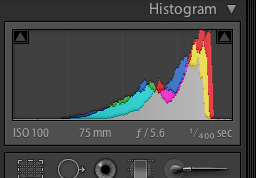
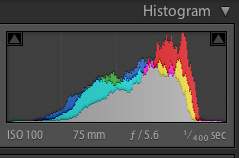
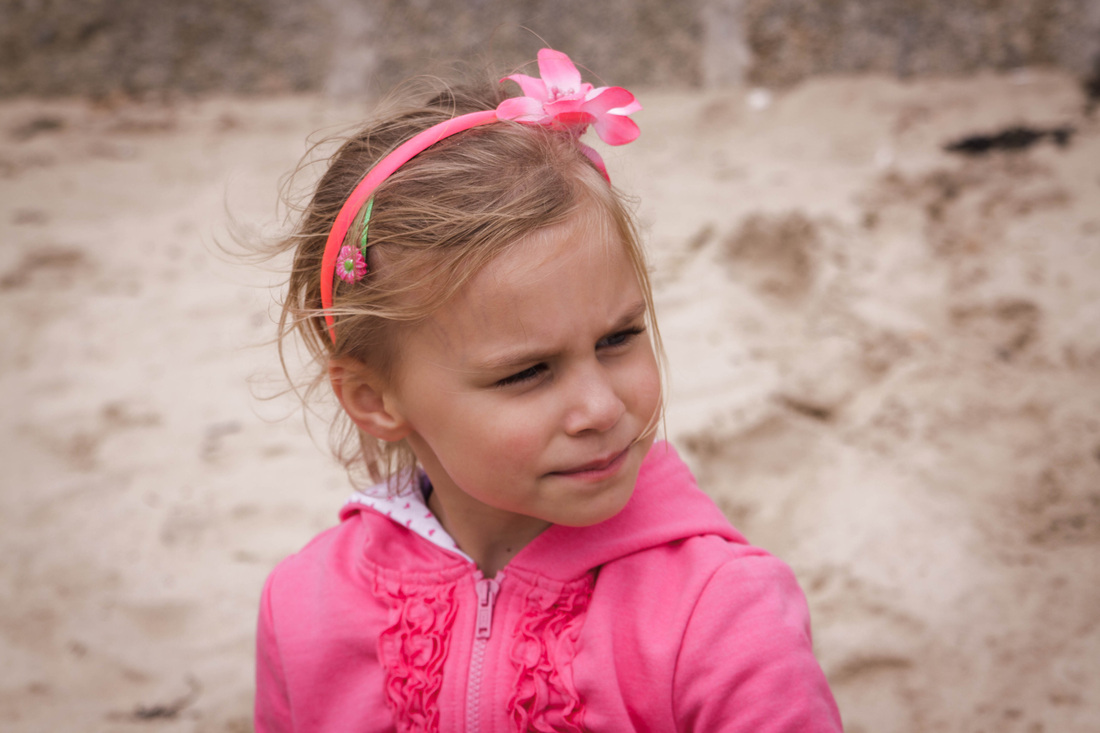
Taken on a beach on a sunny day the histogram indicates more tonal values in the lighter range for both images -- as might be expected due to the light sandy background. The Jpeg looks more saturated, the colours deeper, but I am surprised at really how little difference there is between the two as I usually find Raw files very dull prior to processing. I made virtual copies of both images before making any further adjustments. I used Lightroom to process both images keeping it very simple as I only wanted to perhaps adjust the tonal range and improve the skin tones as felt these were too pale (Caitlin has a tanned skin which looks rather washed out) .
Taken on a beach on a sunny day the histogram indicates more tonal values in the lighter range for both images -- as might be expected due to the light sandy background. The Jpeg looks more saturated, the colours deeper, but I am surprised at really how little difference there is between the two as I usually find Raw files very dull prior to processing. I made virtual copies of both images before making any further adjustments. I used Lightroom to process both images keeping it very simple as I only wanted to perhaps adjust the tonal range and improve the skin tones as felt these were too pale (Caitlin has a tanned skin which looks rather washed out) .
Raw file as shot Jpeg as shot
 |  |
Jpeg before Jpeg after auto tone adjustment
I am pleasantly surprised at how well the jpeg has turned out and needing minimal post-procssing. The histogram indicates a slight increase in the range of mid tones .
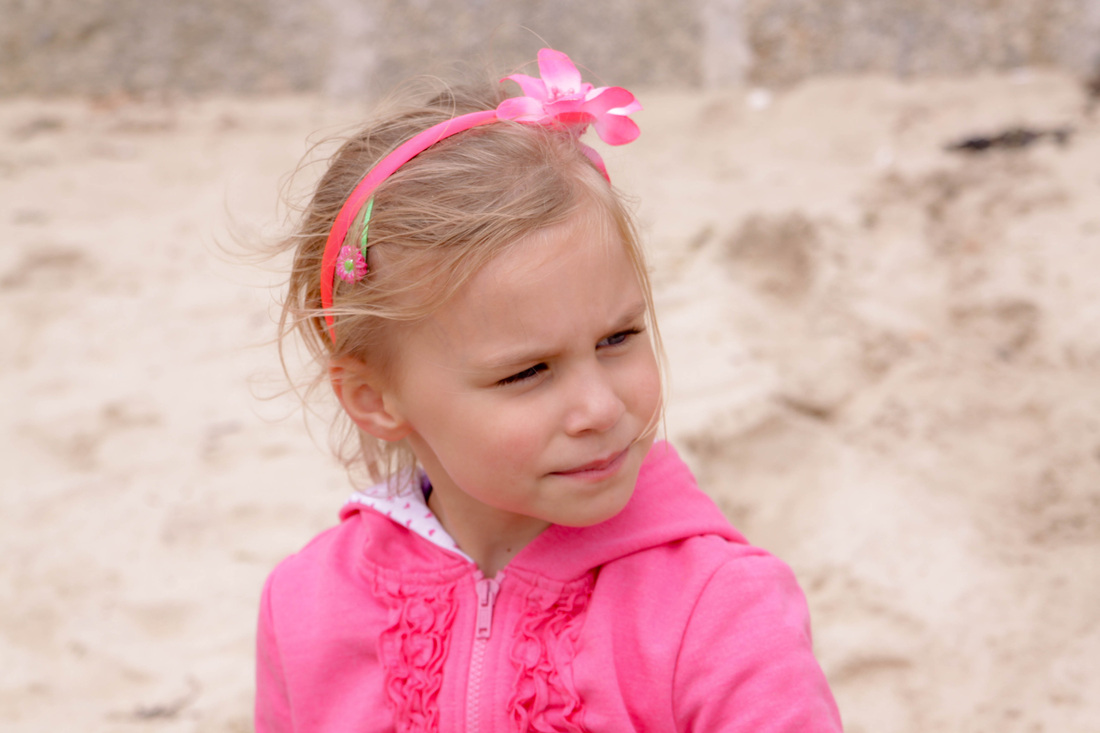
Final Jpeg image below
Final Jpeg image below
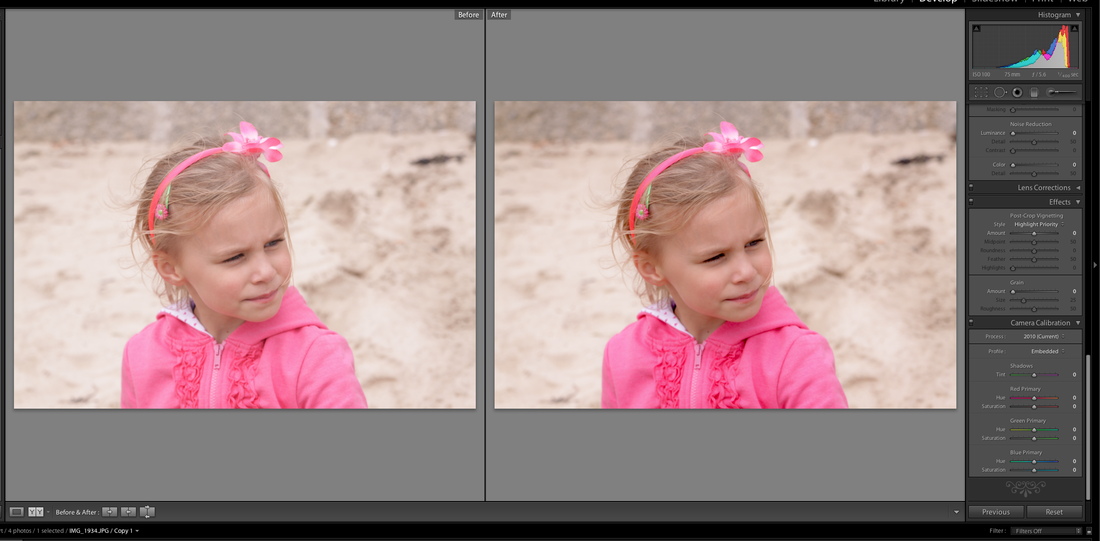
Raw before Raw after (see below for steps taken)
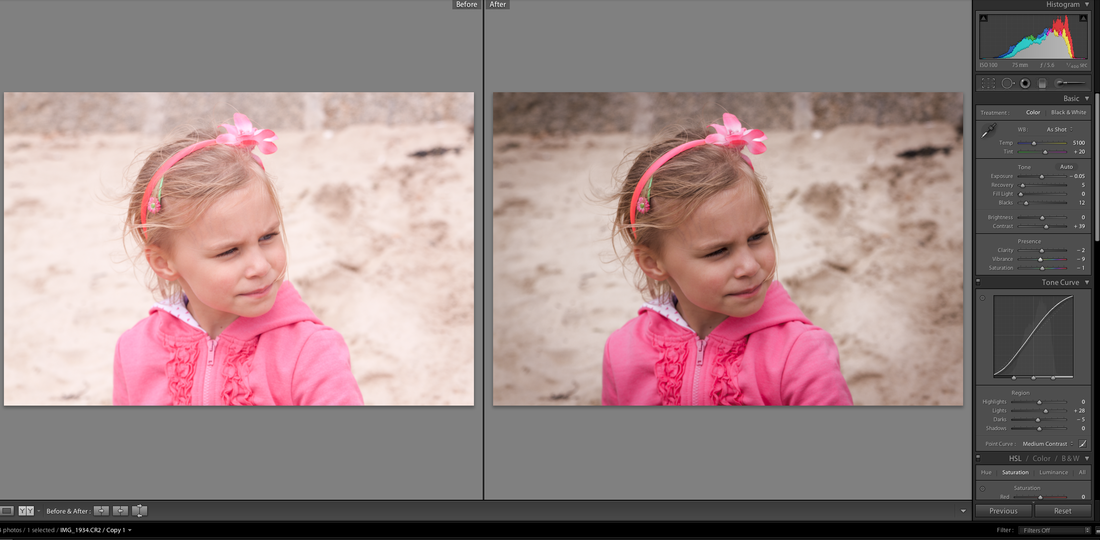
Image too pale and bright hence exposure reduced by just 0.05 and a highlight priority negative vignetting slider adjustment applied. Lightroom camera calibration neutral adjustment.

Final Jpeg Final Raw
 |  |
 |  |
Each image needed some minor post shoot adjustments and looking at the two both are perfectly acceptable versions . However comparing the histograms of each image the dynamic range of the Raw file shows a greater improvement in the mid tone range than than that of the Jpeg .
 RSS Feed